

One packet contains 16 strips and I paid around 8 euros for them (I seem to have misplaced the receipt, I can't find the exact sum, sorry!). There are simplified instructions on the back. I'm only wondering why they call the product "real nail polish strips" since it isn't actually a conventional nail polish. It's not fake, but it's not a nail polish. If there would be a product called fake nail polish strips, this would be it!
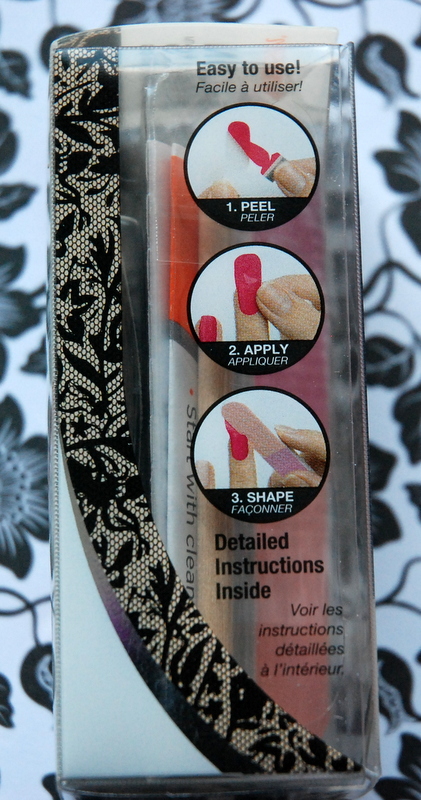 |
| Instruction on the back of the package. |
 |
| What's actually inside. |
The package contains an instruction leaflet, a stick to work your cuticles back, a tiny nail file with three different roughness surfaces and two packs of nail strips, with 8 strips each.
 |
| First, push your cuticles back with the stick, then polish the nails with the white side of the file. |
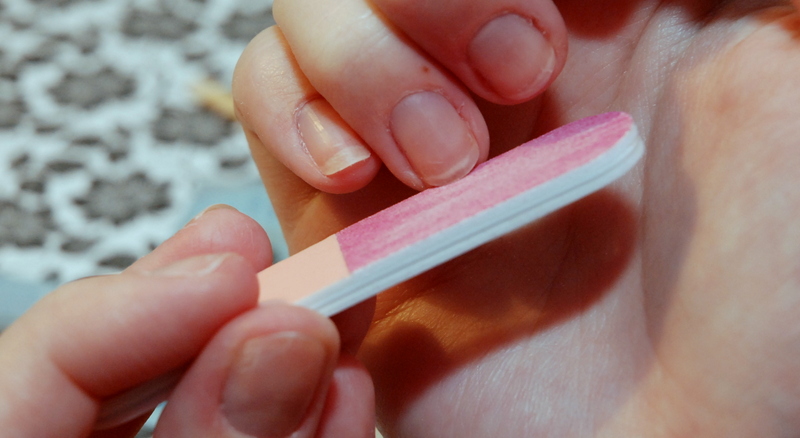 |
| File your nails to a nice shape with the pink end. I'd recommend your own file, the pink area is so tiny it's quite hard to work with, but not impossible. |
 |
| Choose the right size stickers (or cut them down if needed) and apply one to a nail (there's a protective film and a backing, the actual sticker is very thin and soft). One end of each sticker is like half an oval, the other is more square, so pick which one fits your nail best! |
 |
| A large and floppy sticker ;P Be careful not to stretch it much, it can tear or the pattern might stretch and look lopsided. |
After the sticker is in place, you just gently file the extra off with the peach end of the file. The strip is very soft, so you can gently rip off any extra if you have picked a slightly too big sticker or applied it off centre. Repeat on every nail and you are done! I recommend doing one nail at a time, so you won't have to work with sticker ends hanging off your nail tips, it's much easier! I also applied a clear top coat and it seemed to really help the strips stay on well. I've now had them on for a week and they still look okay. There are some small tears at the edges, but those could maybe have been avoided with a few more layers of the top coat.
 |
| Not the best picture, but I'm trying to show how the strip pack doesn't open as it's supposed to, the foil separates into two parts and the clear plastic seal didn't tear off. I had to cut it open. This happened with both packets. |
 |
| Finished nails! I'm not sure about the colours, but they look pretty neat still. |

Pros:
-No drying time, except for the top coat
-Nice designs
-Easy to apply and a few strips extra in case you mess up a few
-Last long (with top coat)
Cons:
-A bit pricey
-Silly strip packets don't work like they should
Generally I liked the product and might well buy another pack some day, especially if they come out with more fancy designs :) I really liked how well they lasted on my nails and the super soft and thin stickers were a positive surprise, they were easy enough to apply.
They seem easy enought to apply, but off course to use it, you have to have already nice shaped nails.
ReplyDeleteI just wish that background was purple or red, thank you for the review
Purple or red would be so much better than a blah beige! My nails are pretty short at the moment, I felt like the bold pattern lets me get away with stubby nails ;P
DeleteI cut them and I get two uses out of the strips (but I usually wear my nails short). I really like that pattern you choose, super pretty! Now you're inspiring me to do my nails.
ReplyDeleteA great idea! I'm sure they would cover my nails well even if I cut them in half. Do you cut them with the protective film on?
DeleteI loved these so much but they were too large for my nails ;__;
ReplyDeleteYou can always cut them smaller, but it's takes a bit of time. I cut one, because I messed up the only one that fit on a certain nail, but in the end it came out okay.
DeleteI have had this exact box of strips sitting in my nail polish box for ages. Maybe now I'll stop being lazy and actually put them on. LOL
ReplyDeleteTry them! Mine have now been on my nails for over a week and still look quite okay, and I've been doing dishes and crafts and all kinds of stuff that's hard on nails.
DeleteI've always wondered why the packets do that. I've used three different designs so far, and they all did that. *shrug*
ReplyDeleteSo it's not just me then! I tried pulling fast or slow and from both corners but they still just wouldn't open like they should. Apparently someone at the Sally Hansen labs has designed the package on a Monday ;P
DeleteI have used these a lot and on every package I used the plastic seal does not open! So annoying! Anyway, they stay on really well at least.
ReplyDelete